Showing posts with label craft. Show all posts

Monday, August 20, 2012

DIY Funky Bathroom Tray - Target Dollar Bin Challenge

Good morning!  :-)  Happy happy Monday.

Well, I've been hyping up the beginning of my new series starting on the blog this week, and I'm so excited to bring it to you today!

The Target Dollar Bin Challenge!

All right -- here's how it works!  Bi-monthly, I am going to head on over to my local Tar-jay, peruse the dollar bin section (one of the best parts about Target, if you ask me!), and make something using item(s) that I find in the ever-amazing BINS.  Then, I'll share it with you on the blog, and y'all will get the chance to make it using the same materials because I promise to post the craft up quickly after I do it...that way the products will still be there!  :-)  This idea has been a-brewin' in my head for some time, and I think it's a good way for me to challenge my creativity and come up with crafts on my own, instead of always consulting Pinterest (though I love it).  Obviously, in this day in age, it is hard to be 100% original, so I can't say that my craft idea isn't already out there, but mine will have a bit of a spin because of the source of my materials!  :-)

So, here we go!!

DIY Funky Bathroom Tray


What You'll Need...

Wrapping paper (my pick from the Dollar Bin!) - $2.00
A white frame (this was a 3-pack for $5)
Scissors

What You'll Do...

This is simple-simple and literally takes five minutes.  For two.  I wasn't fancy about this.  I didn't want to Mod Podge the wrapping paper down because I wanted the freedom to change it up whenever the mood may strike me.  So

1. If your frame has a little stand on the back of it, take that off. 


2. Take out the insert of the frame and roughly use it as a point of reference in tracing your wrapping paper cutout.  I was not meticulous about this since I knew that I was just going to put the back on top of it.  I folded the extra edges in, and put the back of the frame back on.


Done.  As in, finished.


Oh, look -- now there's two!  One for me, one for my mom.


And that's it!  I use mine to hold my perfume, makeup primer, and select jewelry.  Simple, inexpensive ($8), and looks cute!  :-)

There you have it, people!  The first addition to my Target Dollar Bin Challenge!  I have added a tab up at the top of my blog where all of the projects will be located for easy access.  I'm so looking forward to starting this journey with you!  

If you'd like to take part in this challenge, send me an e-mail with your project and pictures and I'll share it on All Things Luxurious!  :-)

I hope you all have an awesome day -- I'm going back to school today after taking a three-year break.  I am so nervous!

Any advice for me for my first day?  Are you doing anything fun this week?  Did you have a good weekend?

love,
maria

Don't miss this weekend's posts!

Linking up!


Monday, August 13, 2012

Beaded Glass Hurricanes: DIY Date

Good morning!  :-)  I hope you all had a wonderful weekend.  I spent mine doing a little bit of work, hanging out with my sweet husband, and crafting a bit!  Which brings me to today's post...  ;-)

Last month, I participated in a DIY Date hosted by Louise from Laid Off Mom.  Louise is a crafter, blogger, mother, friend, and daily inspiration to me, and last month she invited us to join her in the online version of a Girls' Night Out crafting extravaganza.  Each month, she picks the medium (last month it was washi tape), gives us a couple of weeks to craft, and then blogs about our creations and adds them to a Pinterest board, too!  So fun, right?  She also opens up the party to the readers of her blog, so that we can create a whole crafting community -- LOVE! :-)

Which brings me to this month.  The crafting medium that Louise chose was beads.  When I first read the e-mail that she sent out to us, I thought - Oh my gosh, I'm going to have to make jewelry.  And I don't even know how to make jewelry.  But then my mind went to other things.  What would it look like if I decorated something with incredibly tiny beads...almost giving it a caviar manicure-look.  I knew that I wanted to make something for my mom -- I always love crafting for her -- which, by the way, mom, if you're reading this, stop!  I still have to bring this to your house!  ;-)

So, here we go!

Beaded Glass Hurricanes


What You'll Need


-2 Glass Hurricanes
-Mod Podge
-A foam brush
-Very small beads -- color of your choice
-Shallow serving dish


1. Empty your beads into the dish.  If you have different colors of beads, zhush 'em up with your hands!


2. I chose gold and silver because 1) I love those colors together and 2) around the Holidays, these will be pretty and decorative!

The next few steps, I didn't get photos of because they went so quickly.

3. Dip your foam brush into the Mod Podge and brush a fairly-thick layer of the adhesive to the bottom rim of your hurricane.

4. Start by rolling your hurricane in the beads, and when that gets a little bit messy, sprinkle the beads onto your hurricane and lightly press.  If you are like me, you will get beads all over the floor.  This is not what I would call a mess-free project!  ;-)

5. Turn the hurricane upside-down in order for the Mod Podge/beads to dry.  Repeat with other hurricane.


I left mine like this for several hours.

6. If you are not totally satisfied with your bead coverage, paint another layer of Mod Podge around the beads, and roll/place again.  I would definitely do this after it has dried some, though.

7. If you are wanting beads around the top rim of the hurricane, paint some Mod Podge around the rim, and then press the rim into the platter of beads, much like you would adorn a margarita glass with salt or sugar.


See?  Pretty.  And drying.  But mostly pretty.

8. Let dry overnight, and then marvel at the loveliness the next morning.


This project cost me $18 to make (although it would have been less if I had used thrifted hurricanes), and took maybe 45 minutes of actual crafting time...however drying time was longer.  I would say that no matter what, you are going to want to let these dry overnight...just in case.  Some excess beads do fall off, but if you put enough Mod Podge, there won't be any "holes" where the beads should be!

I hope you enjoyed this project!  It is simple, and it looks cute when it is finished!  Make sure you check out Louise's blog for more awesome bead projects.  And her Pinterest board, too!  You can also check out the craft I made for last month's DIY Date!  And, on a housekeeping note, I am so excited to start a new series on the blog next week (I know, total teaser!) that I thought of last night.  It's gonna be fun, people!  ;-)

Enjoy your Monday!

Beads...what would you make with them?

love,
maria

Linking up!


52 Mantels

Friday, July 20, 2012

Washi Tape: DIY Date

Hey there, friends!  Happy Friday to you!  I hope you all have had a wonderful week and are gearing up for a great weekend.  :-)

So, All Things Luxurious is going to be participating in something pretty fun once a month, and I'm really excited to share it with you!  :-)  My friend Louise from Laid Off Mom was sweet enough to invite me to party with her for her first monthly DIY Date!  She e-mailed me and some other awesome bloggers a couple of weeks ago and told us about how she has a monthly "craft night" with her friends, and how she wanted to do something like it for the blog!  Each month, she will pick a crafting medium, and it's our job to come up with something creative!  Make sure you keep a look-out on her blog for posts like this one where she sets the due date for the craft and the type of craft we're doing so that you can join in, too!

Louise will be posting all of the projects onto a Pinterest board dedicated to that particular craft, her blog, and her Facebook page.  I'll be sure to update these links on Monday when she posts up -- she's sharing all of the projects on the 23rd, but I'm blogging about my craft today.

So.  Washi tape.  I will tell you, I had a painfully difficult time finding this in any craft store, and I have no idea why.  I will tell you about my horror story in another post -- my experience was actually so bad that I am looking to find some independently owned craft-supply stores in the Scottsdale-Phoenix, Arizona area (so if any of you have any tips, let me know!).  I have been keeping an eye out on Etsy and Pick Your Plum  for washi tapes that I like so that I can stock up -- because using it was so much fun (and so easy).

I ended up finding a very small selection at JoAnne's (like, I had two choices), but thankfully I really liked both so I just had to decide which one I liked better.  I debated for a while over what I was going to decorate with the washi tape, but I decided on a white catch-all tray that I thought was pretty and could use a little sprucing.


The washi tape I chose was pretty cute, and it is Martha Stewart brand.


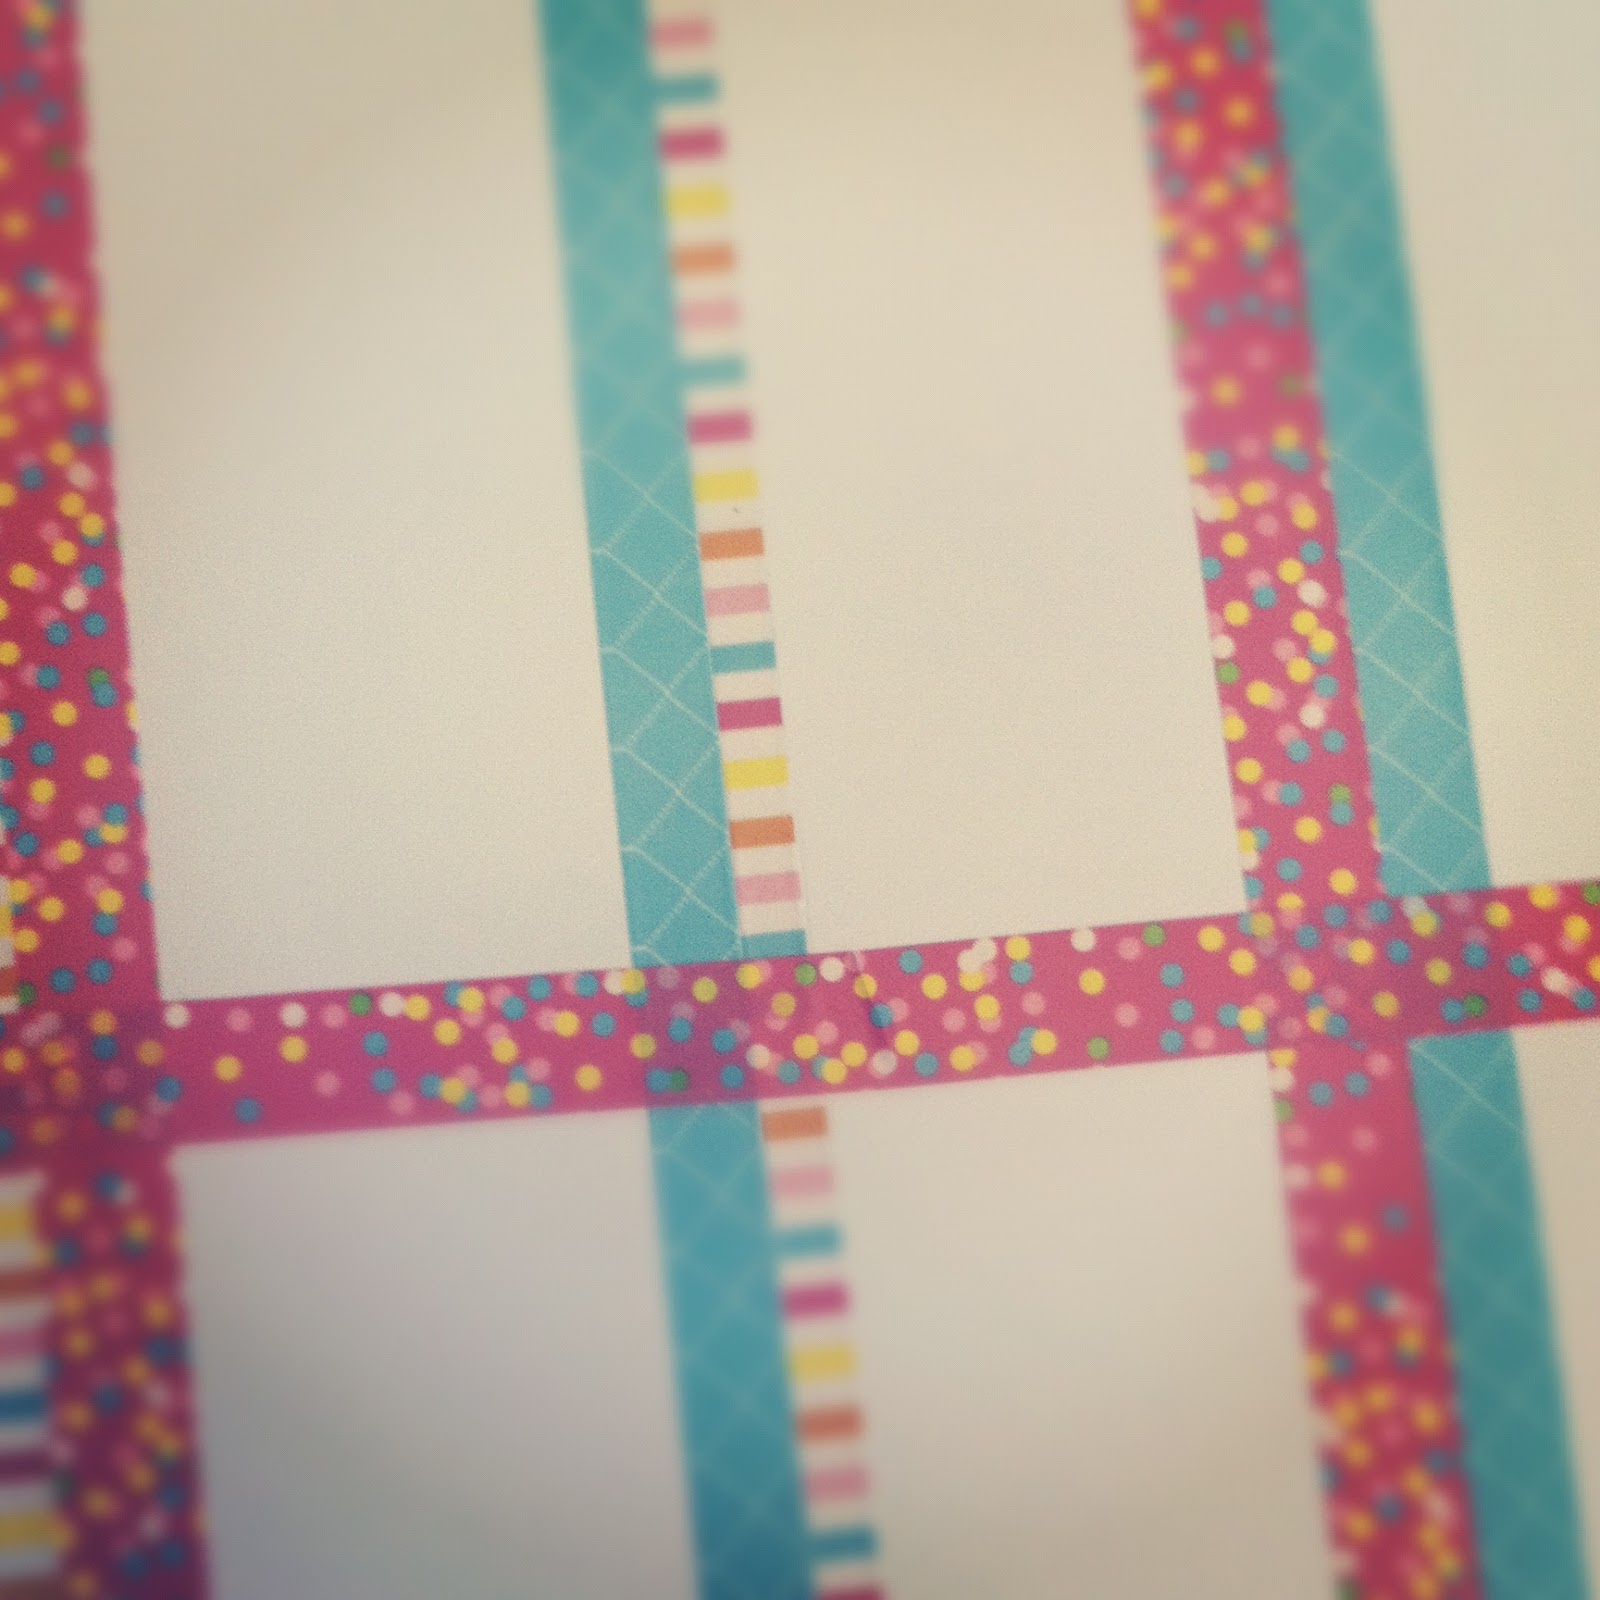
This project is so simple, it really doesn't even need a tutorial.  I just traced straight lines across the bottom of the tray lightly with pencil and a makeshift ruler (a nail file, of all things), and then I began to layer my tape!  I cut the excess tape by lightly slicing with an Exacto knife at the edges -- this worked really well for me!


I really enjoyed making up my pattern as I went along...it was fun!


And there you have it!  When I finished it, my mom already wanted it, so she put it to use in her living room, holding their crazy amount of remotes.  ;-)


I may Mod Podge the bottom if it seems like it's not holding up, but I think it will be okay for now.  :-)  This project ended up taking about 45 minutes, and the cost was $22.  Not bad!

Have you made any projects with washi tape lately?  Where is your go-to place to buy it?

love,
maria

Update: One of my lovely readers, Erin from 110 + 2 told me about a GREAT washi tape website called Cute Tape.  I have been *loving* perusing the site and looking at all of the beeeautiful tape it has to offer!  Make sure you check it out.  :-) And thanks, Erin!

Linking up!


52 Mantels

Positively Splendid


Monday, July 9, 2012

Grapevine Seashell Wreath

Last week, I made the short trek to my local Michael's to find some inspiration for a summer wreath.  I checked my Pinterest boards, but I didn't really see anything that sparked my fancy, believe it or not!  I have a whole lotta Spring wreaths and Christmas wreaths saved, but nothing for summer.  I know -- weird, right?

I walked through the aisles and came across this really neat grapevine wreath -- very cool shape.  And then there was a bag of pretty white seashells down another aisle, and I knew that was it.  Just a simple nautical wreath was in the works.


What You'll Need


Grapevine wreath of any shape or size
Bag of seashells
Hot glue gun
(Ignore the ribbon -- I didn't end up using it)


Pick a shell that you want to be the "star" of the show -- mine was a starfish!  There are usually one or two unique shells in a bag of storebought seashells, so choose from one of those! I placed mine a little bit off-center.


Then, just start gluin'!

Here are my tips for hot-gluing the shells:

*On shells that you are going to be placing bottom-side up, hot glue only the two corners that will be touching the wreath.  If you hot glue all the way around, the glue will dry too quickly and since the wreath form itself is uneven, it won't touch all the way around.  Place the shell on the wreath before you glue it to really see where it is going to lay, and then hot glue!

*On shells that you are going to be placing top-side down, pile on a large dot of hot glue in the center, and place.  Hold down firmly with your pointer finger until the center of the shell is no longer hot to the touch.

All said and done, this project took me only about an hour and a half.  And it looks so preeety on my door.  :-)


Oh, and, when I looked up grapevine seashell wreaths on Google Shopping, the cost ranged from $30-upwards of $250!  Mine?  $16 (with many shells leftover !).  Oh yeaaaaah.  *Happy dance*

What do you think?  Have you attempted a summer wreath yet?

love,
maria

PS: Come back on Thursday to see what I did with all of my leftover shells!  ;-)

I'm linking up with 52 Mantels!


52 Mantels

Thursday, April 26, 2012

Champagne Cork Magnets

When we got engaged, and when we were on our honeymoon, we opened bottles of champagne.  I have long been trying to figure out what to do with the corks that came from those bottles, and last weekend, I finally figured it out!

Make magnets, of course!


This tutorial really is so simple it doesn't even need a tutorial...


You need corks, of course...  ;-)

You also need a hot glue gun, and some magnets.  But -- a word to the wise:


Pay attention to your magnet strength.  These were much too weak to hold my cork onto the refrigerator -- which meant an extra trip to the craft store.  *Annoying*.  ;-)  Try to find something a little heavy duty for your keepsake magnet.


These were just the ticket!  Heavy and strong.  Woop!

You just need a thin layer of hot glue, then firmly hold the magnet to the bottom of the cork for a minute or so.  And then...


Proudly display your custom creation.  :-)

love, maria

Linking up!


52 Mantels